
April 11, 2017 ( last updated : April 10, 2017 )
openshift
paas
spring-boot
https://github.com/alainpham/rest-service
Openshift is a PaaS solution based on Docker and Kubernetes. This article will show you how to install Openshift Origin in less than 5 minutes and deploy your first Java application to it.
sudo yum upgrade
sudo yum install docker
Edit /etc/sysconfig/docker and add these options
OPTIONS='--selinux-enabled --insecure-registry 172.30.0.0/16'Replace the ${USER} by your user name
sudo groupadd docker
sudo gpasswd -a ${USER} docker
Reboot your machine
sudo systemctl enable docker.service
sudo systemctl start docker.service
docker run hello-world
Expected result :
Hello from Docker!
This message shows that your installation appears to be working correctly.
....
Place the oc executable in the $PATH
[demo@demo-centos-vm ~]$ oc version
oc v1.4.1+3f9807a
kubernetes v1.4.0+776c994
oc cluster up-- Checking OpenShift client ... OK
...
OpenShift server started.
The server is accessible via web console at:
https://YOUR_IP_ADDRESS:8443
You are logged in as:
User: developer
Password: developer
To login as administrator:
oc login -u system:adminOpen browser and to to https://YOUR_IP_ADDRESS:8443/ and login with user/pwd : developer/developer
In a shell log in as admin and add the Java S2I (source to image) image streams to the openshift project. This is important as we will use these images to build images from our own project source code
oc login -u system:admin
oc create -n openshift -f https://raw.githubusercontent.com/fabric8io-images/s2i/master/image-streams.json
Login as developer and add the application template of an app. You can customize these template as you wish. This is just an example of a Spring Boot java application that exposes a rest web service.
If you are interested in how to create a Spring Boot Application go to this article : quickstart-rest-microservice-with-spring-boot
In short the template describes
oc login -u developer
oc create https://raw.githubusercontent.com/alainpham/rest-service/master/openshift/openshift_origin.yml
Open browser and login as developer to your console https://YOUR_IP_ADDRESS:8443/
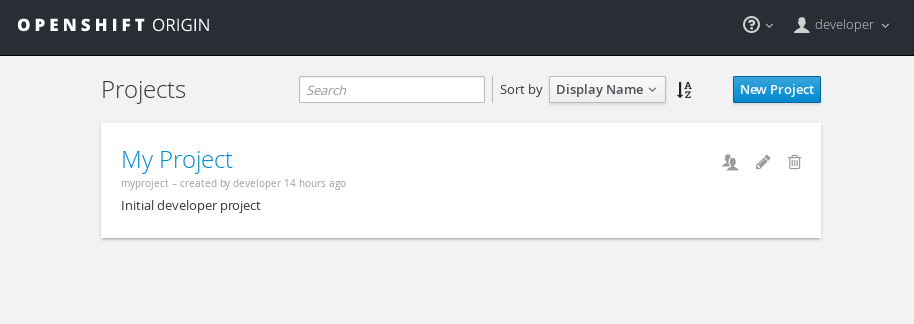
Go to My Project and Click on add to project
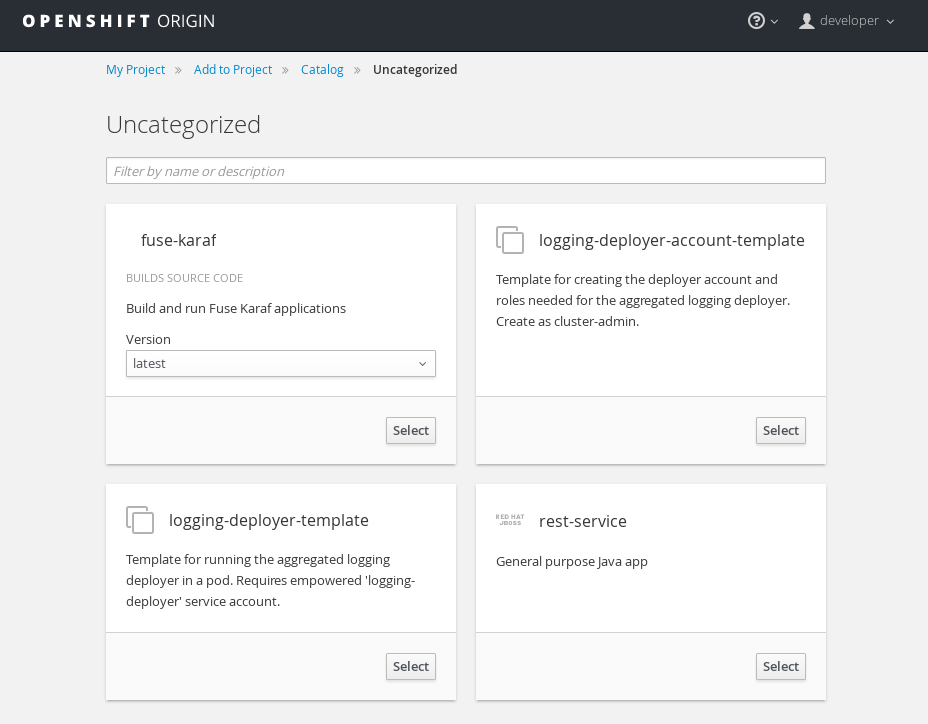
Add to project from template and select the previously added rest-service.
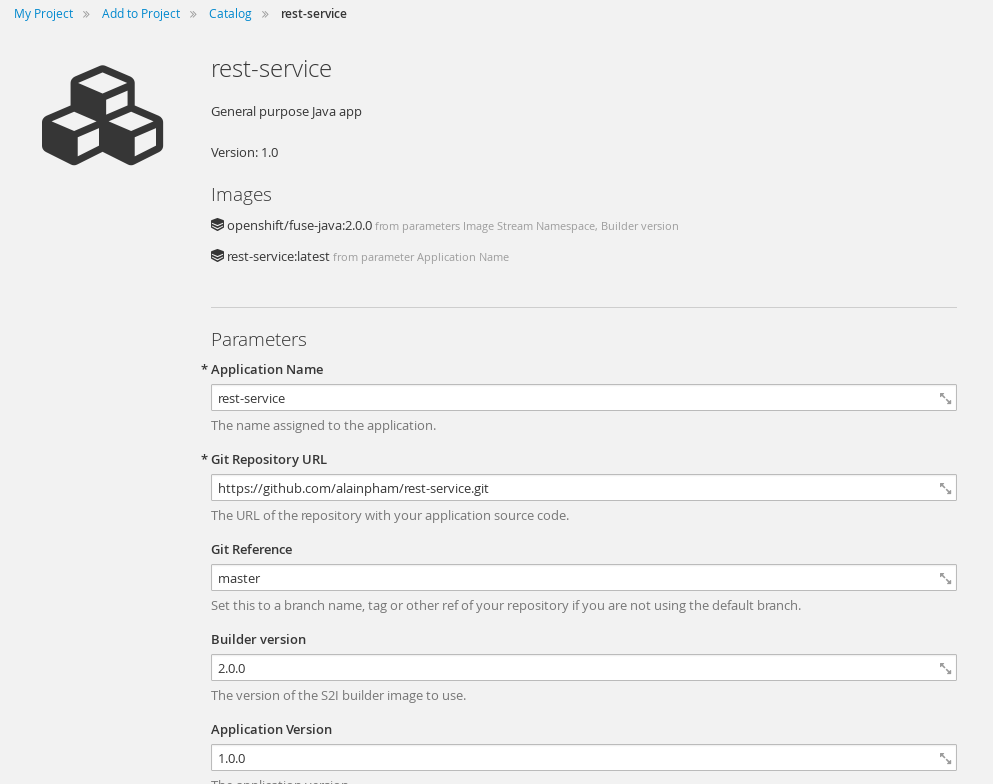
The template allows you ton change configurations before creating the different objects on the openshift cluster (i.e. BuildConfig, DeploymentConfig, Services, Routes ..)
The source is cloned from the git repository and built using the Source2Image method. Note that this is a Java project and all dependencies for the maven build needs to be downloaded. If you have an existing nexus or other maven repo you can configure it in the Maven Mirror Url. This could accelerate build time.
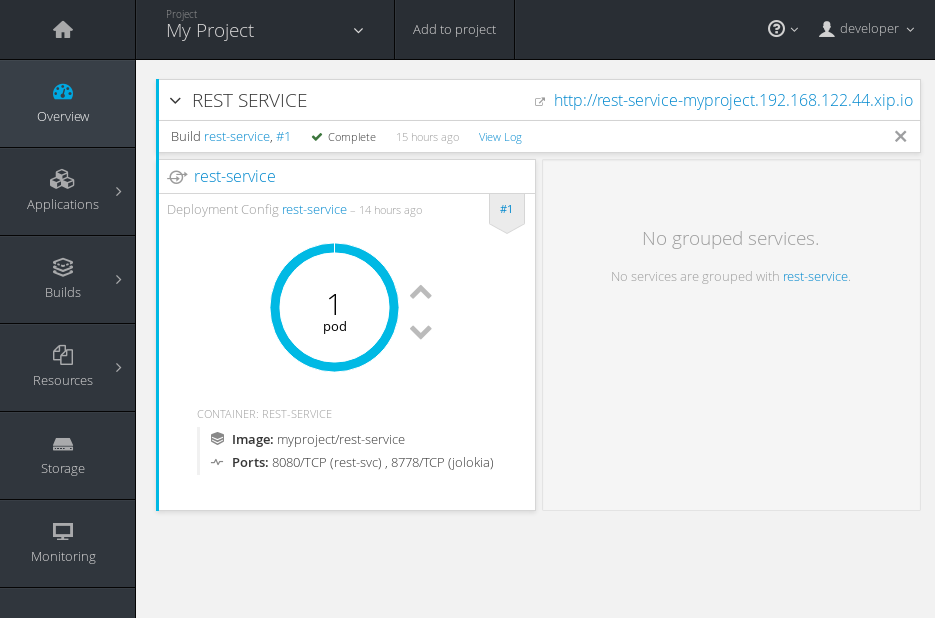
Click on create and wait for the build and deployments to occur.
Test by calling service.
curl http://YOUR_ROUTE_DOMAIN_NAME/svc/person/1
Expected result
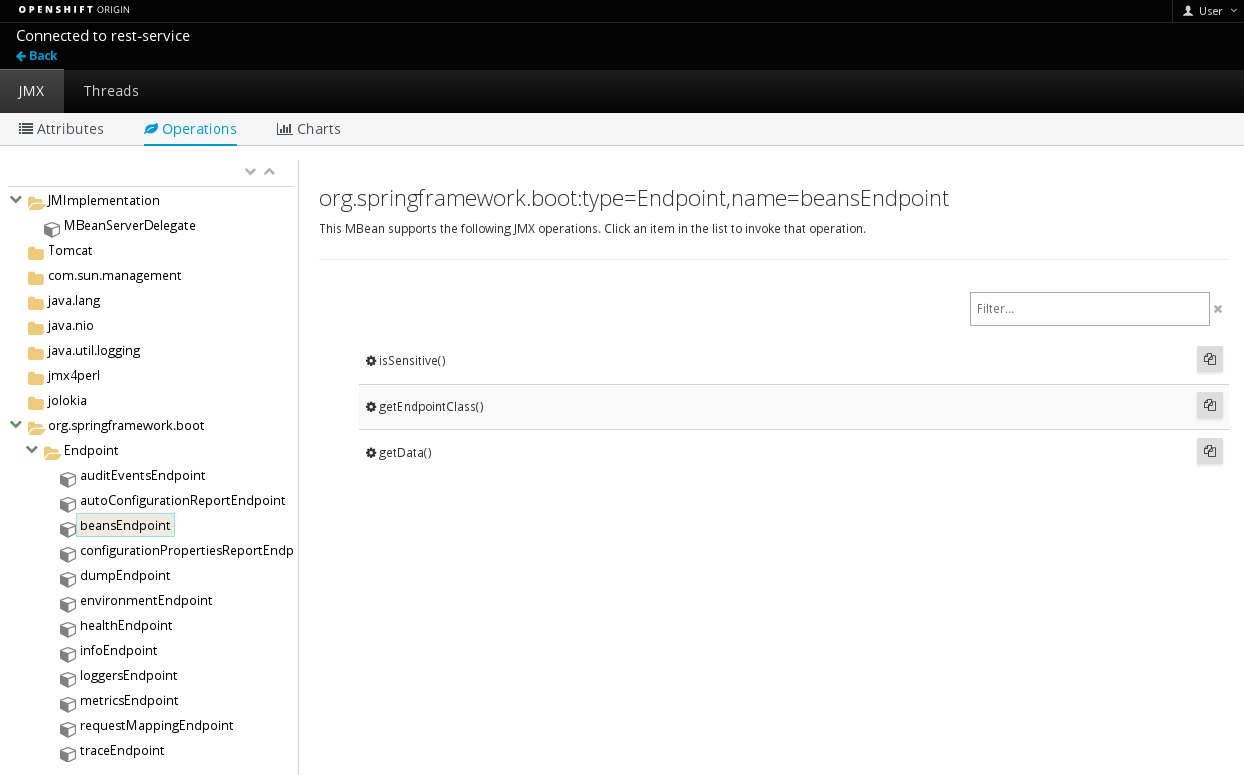
{"id":1,"name":"John Doe"}You can now also access infos about your running pods and access JMX methods and data through the Java Console

Thanks for reading
Other resources
Originally published April 11, 2017
Latest update April 10, 2017
Related posts :